
Many people believe that game art design and graphic design are the same thing. They aren’t. Graphic design is more of an umbrella term, that can hold many different types of digital designers. Most frequently (but not always) graphic designers are communicating a message through their design work. Game art designers are a special breed of designers. They aren’t here to communicate a message through one piece of work; they’re here to create a cool piece to a larger puzzle. That puzzle is a video game! There are many different styles of game art, from 3D hyper realistic character models, to static 2D images of characters that change on screen every few lines of text. One of the earliest forms of character designs was a 2D style of character that was made of a few hundred pixels.
Art like this is now commonly referred to as pixel art. This is because the art is made of easily visible blocks called pixels. Even characters today are made up of pixels, because everything on a computer screen or TV is displayed in pixels, but 3D characters are made up of so many pixels that they look smooth and lifelike. Pixel art characters are considered retro and cool because they are made using very few colors, and only a few hundred pixels. Of course if you wanted to, and had the time, you could make a really awesome character using a few more colors and a couple thousand pictures! But before that, lets learn how to make a pixel art character.
You can use a wide variety of tools to create pixel art. At our technology summer camp, we use Illustrator and Photoshop. For this example, I will be using Piskel. Piskel is a free (as of the time of writing) online program specifically made for pixel art. There is an online web app at https://www.piskelapp.com/ as well as an offline version of the app that you can download from the website. Before I begin, I would like to note that you should create an account on Piskel before you begin working. I lost my first project because I wasn’t signed in first, so I had to start all over again!
Using Piskel, I created a smiling face, and afterwards, I decided to animate him to make him wink. I will show my steps, and give a brief rundown of tools in the program so you can follow along with me. My example work is linked here: http://bit.ly/2wBm74P.
When you first open Piskel, you will be greeted with a blank artboard, and quite a few tools on your left and right.
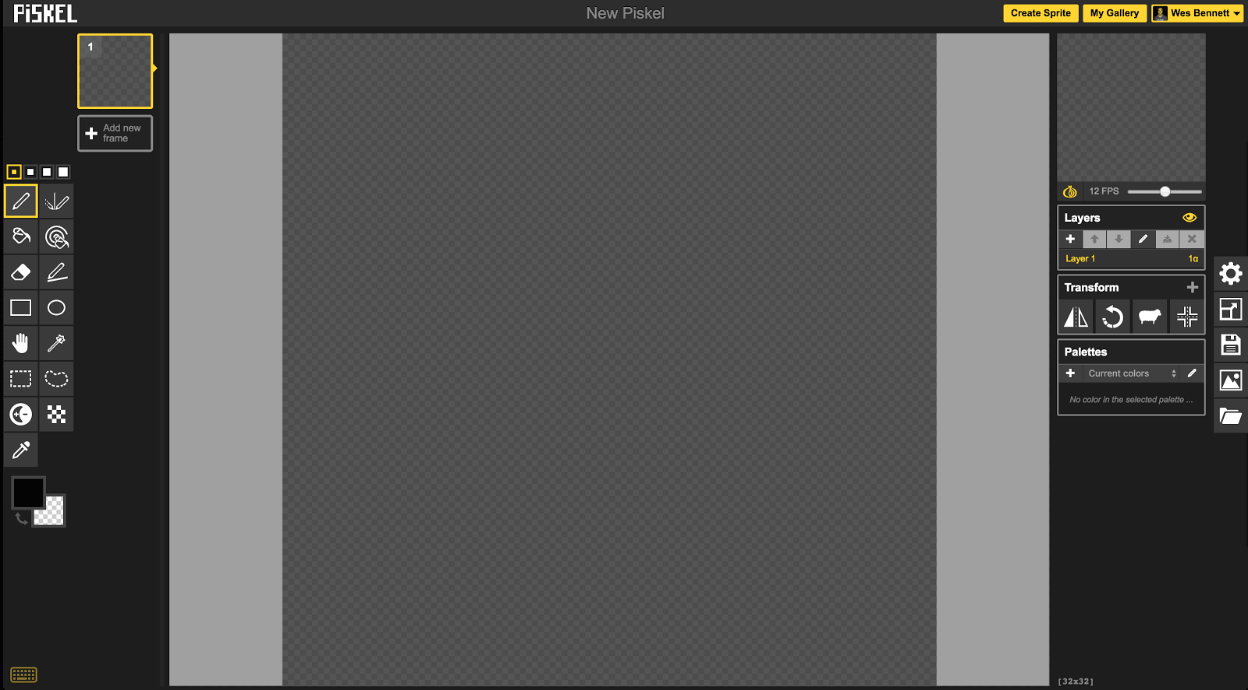
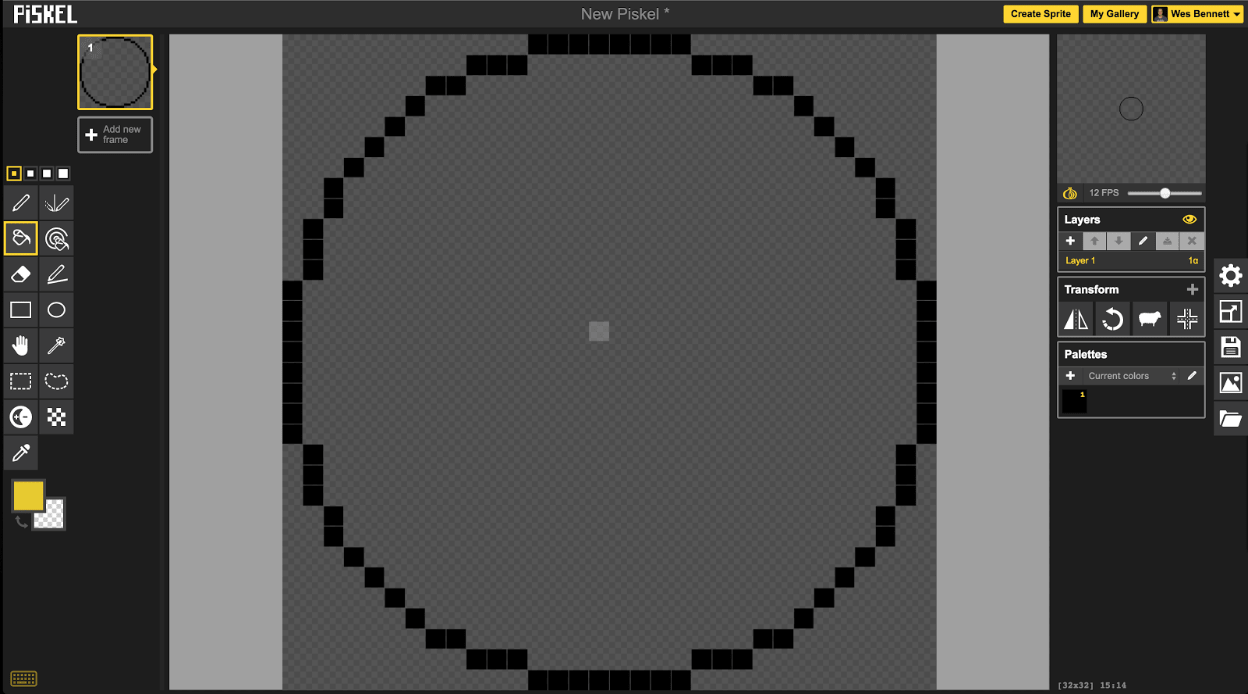
By default, the pen tool is active, and you can use it to draw onto the artboard one pixel at a time. By clicking and dragging, you can create lines around the artboard as well. Towards the bottom of the left side of the screen, there are two overlapping boxes. By clicking the top one, you can pick your color that you want to draw with. I don’t want to fill each pixel in one by one to create my smiling face though, so I’m going to use the circle tool (4th row on the left panel) to create a circle by dragging from the top left corner, all the way to the bottom right corner. By holding shift, we can make sure that the circle is perfect--as perfect as a pixel circle can be anyway.
Now that I have a circle for an outline, I’m going to use the paint bucket tool to fill in my circle with the shade of yellow I picked earlier. This is much easier than trying to select and fill each pixel in the circle one by one.
This is the body of our smiling face. Now the next step is to make the eyes. This is also pretty easy, and Piskel makes it even easier by creating a mirror pen tool. This tool will mirror what you do on the other side of the middle of your artboard. To make the eyes, I used the mirror pen tool and a black color, and dragged down to create a nice line, then made another black line right next to it. By now, you should have a sprite that looks something like this.
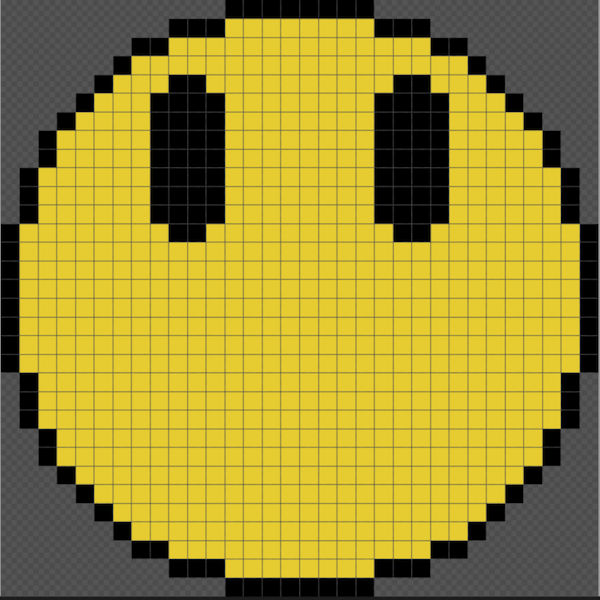
I added some extra lines to the eyes to make them a little more round, but you have complete creative freedom here. Make it however you’d like. The next step is making the mouth. I filled in a few lines to make a smile, but you can make any expression you’d like to.
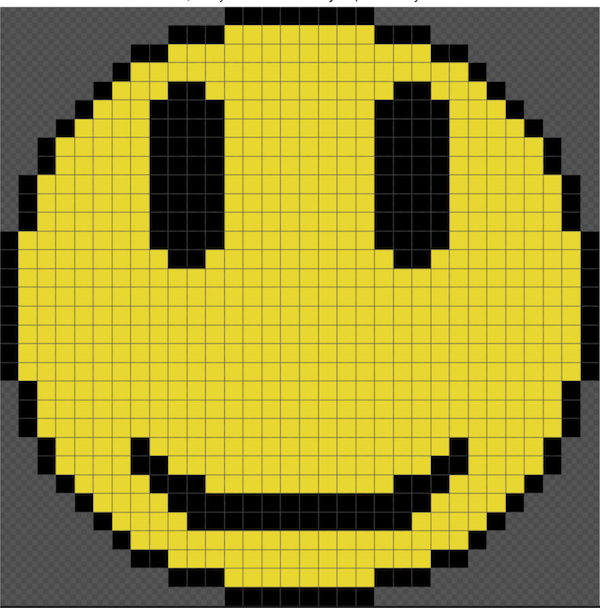
Now you have a finished character sprite! But that’s not the end. To really make this interesting, we’re going to animate the sprite, just like in my example.
In video games, many characters have a short standing animation that they cycle when the player is not actively moving them. This is called an idle animation. The idle animation is a short cycle animation that can repeat endlessly and seamlessly. In this example, we’re going to create an winking animation for the smiling face character sprite. This can be done by creating two different frames. One frame is the one that we just created, the smiling face with both eyes open. The second frame will be the smiling face with one eye closed. To make this an animation, we will use Piskel to make a loop of these two frames at a set speed, to make it look like the face is winking at us.
The first thing we want to do to create this animation is duplicate the frame we are working on.
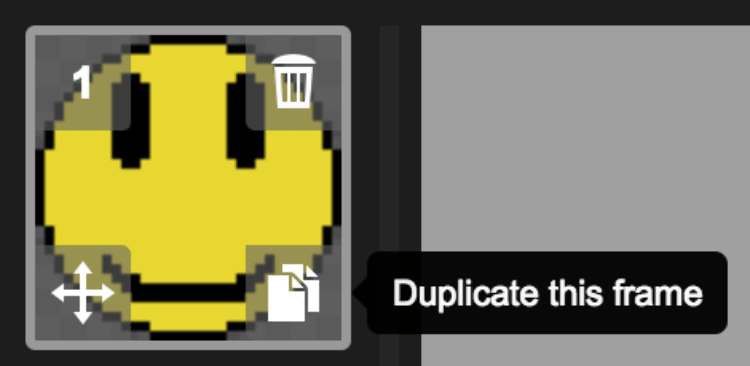
This can be done by hovering the mouse over the current frame and selecting the duplicate button in the bottom right corner. Now that we’ve duplicated the frame, we can make some changes to make the one closed eye. The easiest way to do this is recolor one of the eyes so the pixels are yellow instead of black. Create a small rectangle of black pixels towards the bottom of the eye that you previously recolored.
Now that we’ve made this, we’re essentially done! On the right hand side of the workspace, there is a slider that lets you adjust the frames per second (fps) to change the speed of the animation. I set mine to 2 fps. I also decided to create a 3rd frame that is an exact duplicate of my first frame. This creates a slight delay between each wink, which I think looks better overall.
There are plenty of things you can do with pixel art. Your imagination is the only limit. You can create characters much more complex than a winking smiling face, like the MegaMan at the beginning of this post. You can also use pixel art to create wonderful scenes with a retro, 8-bit-esque aesthetic. Piskel is a great introduction to the concept of pixel art, but you can expand your horizons even more by looking at creating pixel art in more advanced software. When designing video games in summer tech camps at Spark Skill, we use the latest industry-grade professional software including Adobe Illustrator or Photoshop.